Windows Spotlight/Bing wallpaper info

Windows Spotlight

Ever since Windows 10 introduced Spotlight—the backgrounds that you see on the lock screen when you log in to Windows 10 (and above), I've wanted to get the ones I like and put them in my fave wallpapers folder.

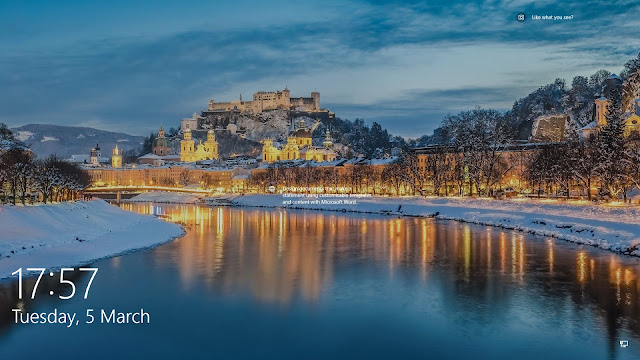
Windows Spotlight lockscreen background image

Thing is, getting these images and their info can be a bit of a challenge. The simplest way is, before logging in, you can try hovering your cursor over the "Like what you see?" text on the upper right of the screen. If you're lucky, you'd be shown a clickable info like this:

windows spotlight info text

Click on that link and, once you're logged in, Microsoft Edge browser will take you to a Bing image search results page where the image can be (if you're lucky) and you can download from there. End of story.

Bing image search results page

But this is a hit-or miss thing (in this case, the result wasn't the exact image but it looks better though). Also, depending on your windows set up, you might not see this link. If you don't have this link, don't worry, you can hunt down for these images yourself. But getting them and their info can be a bit of a challenge.

First, these images are located deep inside your local %appdata% folder, typically:

C:\Users\(insert your user name; you might need to enclose it in quotation marks if there are spaces)\AppData\Local\Packages\Microsoft.Windows.ContentDeliveryManager_cw5n1h2txyewy\LocalState\Assets

Your mileage may vary, and the %appdata% folder is often hidden by default in Windows Explorer but just enter %appdata% in Explorer's address bar (or run dialogue box [CTRL+R]) and you'll be taken to the %appdata%\Roaming folder. You'll need to go back up and go to the %appdata%\Local folder instead and follow the trail from there.

Once you're in the Assets folder, the next challenge is all files in there have daunting 64-character names without a file extension, like this:

0b426d2ed0dfa40b7c7c747cc7779b1a09fde88e69eeb8fc36887239874cca8d

The Spotlight images are among this crowd. You won't see their previews because they lack the *.JPG file name extension. And the file names themselves are uninformative.

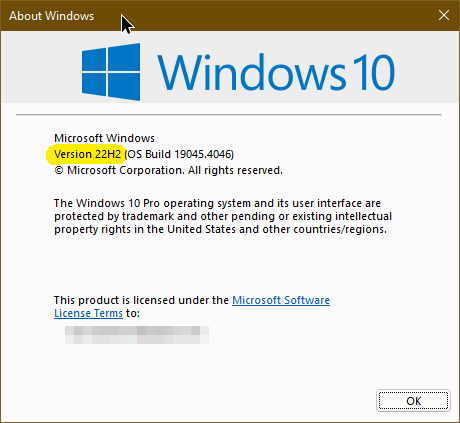
There's an article on finding the real background images by going to regedit or using a Windows Visual Basic script, but the steps vary by Windows version so you'll first need to find out what version of windows you have (enter winver on a command line or run dialogue box) and the Windows version window will pop up:

Windows version info pop up

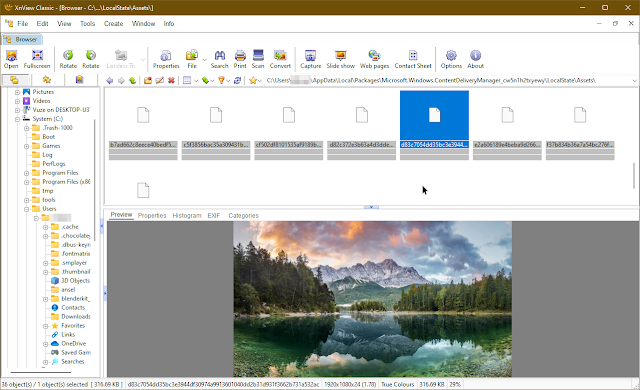
A simpler way would be to use the free XnView image viewer (you don't even need to install it if you download the zip version).

Using XnView to navigate to the Assets folder, you can click on a file and use the arrow keys and, every time you hit an image, a preview will appear on the preview pane, like this:

XnView window

You can now copy that file somewhere, rename it with something sensible and add a JPG file name extension so that windows can recognize it as an image.

The next challenge is what do you name the file to be more accurate? You can just wing it and create a descriptive file name. But what if you want to find the actual place where the photo was taken?

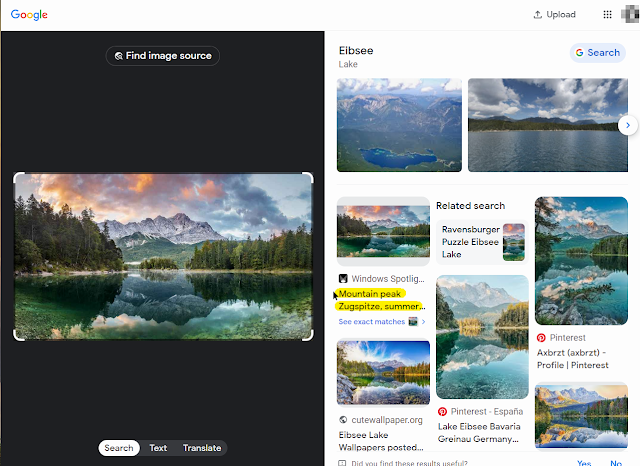
The next step is to open a browser to a Google Image Search page, drag and drop your (sane name) file into it, and cross your fingers that you'll find the exact image:

google image search page

If you get lucky (again), you'll get a "See exact matches" link. Normally this gives me a blank page when I click it. But what you'll need is the descriptive text above it, the most helpful is the one with the "Windows Spotlight" (or "Windows Spotli ...") header. Go to the Windows Spotlight website (actually a private 🆁🆄🆂🆂🅸🅰🅽 website), use the descriptive text to search (in this case 'Mountain peak Zugspitze, summer'), and, if you get lucky (again), you'll find the right result:

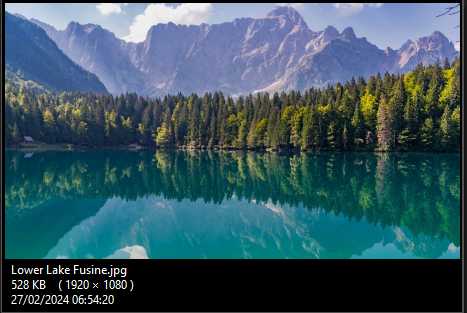
You can then use the description as your file's [long] name. Again, your mileage may vary. Sometimes the Google Image Search will not show the exact image, or, even if the exact image is shown, there's no Windows Spotlight description (or the description isn't the one being used for the image at the Windows Spotlight site). Sometimes even the Windows Spotlight gallery site won't have your image, only something similar. For example, I didn't find this image:

Lower Lake Fusine Windows Spotlight image

But I found a similar image (with slightly different angle and color) at Wikipedia, so I used that image's description instead:
Lower Lake Fusine image from Wikipedia

Bing Wallpapers

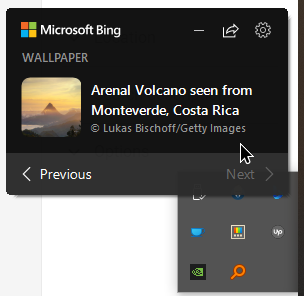
If you have Bing Wallpapers installed (changes your wallpaper daily), it's easy. Just go to your Windows Bing wallpaper cache:

C:\Users\(insert your user name)\AppData\Local\Microsoft\BingWallpaperApp\WPImages

And you'll find the recent images there. Filenames are still uninformative, just YYYYMMDD.jpg format, and the images will be huge (to fit a wide range of monitor resolutions) and have the Microsoft Bing watermark. If you want a better file name, just click on the link over your Bing Wallpaper program ...

and Microsoft Edge will take you to a page with a better description which you can use to name your file.


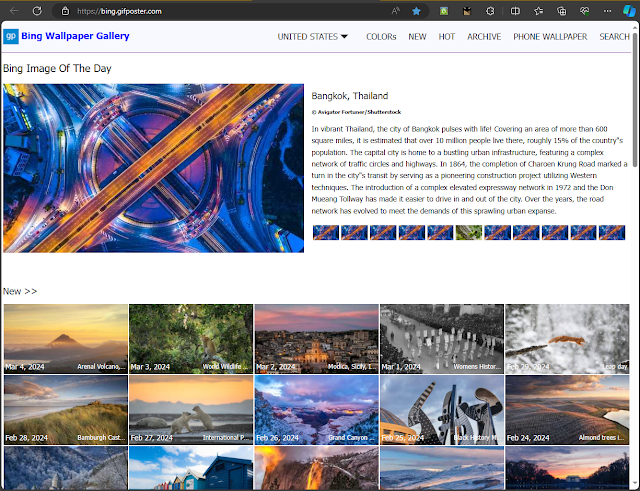
If you want images with short but sensible filenames, no Microsoft Bing watermark, and smaller resolution (like 1920x1080p), go to Bing Wallpaper Gallery (another private website) and you can find the recent images there for downloading. You can also use the descriptions there, if you want a longer, more descriptive, filename and download the smaller size that fits your monitor resolution.
Bing Wallpaper Gallery site


Comments

Popular posts from this blog

Create 'Fake Identity Generator'-style email addresses and passwords in Excel

Last week I needed to compile a list of several hundred fake customer names with fake (but verifiable) email addresses and passwords to test a client's eCommerce site. Fake data generators At that time, I knew of only two online identity generators: Fake Identity Generator  (FIG) and GenerateData.com  (GD). By accepting three user-specified parameters (country, gender, age range) FIG outputs a lot of nice fake data, including disposable (but accessible) YopMail email addresses and relatively easy-to-remember passwords. However FIG doesn't provide free bulk identity generation so I had to generate and copy-paste identities one at a time – a very slow process – along with manually creating accounts using these fake identities at the client site (I had no access to the client content management system so I couldn't bulk register the fake identities). On the other hand, GD allows bulk generation of identities (up to 100 at a time) for free (and with more paramete...

Make a quick-&-dirty repeating pattern in Inkscape (using hexagon base)

[Note: This was first published as a Facebook Note on January 29, 2016 . I am making it available here to add to the Inkscape pattern tutorials.] This is based on a tutorial for making hexagonal tiles for David White’s “The Battle for Wesnoth”, but you can skip the 72×72-pixel requirement. You can make your base hexagon in any size that looks good at 100% zoom. First, make a hexagon using the “Create stars and polygons” tool. Press the CTRL key while you’re dragging the cursor to make a proportioned hexagon like this: You may have to move the cursor around to have the hexagon lie on its side. Next, with the hexagon selected, remove the outline by holding SHIFT and left-clicking the ‘X’ swatch in the color palette: Replace the hexagon’s color with what you want by left-clicking the color swatches in the color palette – almost black, in this case: Next, add your main decoration. I just dropped-in a dragon I found at Wikimedia Commons: Group the hexagon and the object (selec...

Baybayin Fonts

[Blogger] I didn't set out to do Baybayin fonts in the first place but one thing led to another so . . . Here they are so far (shapes done in Inkscape and assembled in Fontforge ): Note: the newer ones do not follow the Lopez cross virama but the 'J' shaped 'pamudpod' introduced by Antoon Postma and adapted by the Mangyan Hanunoo. I also use the Bikol 'Ra' and—purists may cringe—I use extra kudlit on the newer fonts to indicate 'i' and 'u' from 'e' and 'o.' Traditionally, the double kudlit was used to double the e/i or o/u syllable. Baybayin Electric (download from this link ): Originally aiming for a more 'runic' feel that's easy to read in small sizes. Ended up with this: Baybayin Electric Monospace version (download from this link ): Baybayin Hilig (download from this link ): "Hilig," in Tagalog, means "passion, favorite thing/activity;" in Bisaya it means "slanting, oblique, ...